

Are there any special instructions for installing brake shoes for Almera N16?
Jun 24, 2025
Leave a message
As a reliable supplier of Brake Shoes for Almera N16, I am often asked about the special instructions for installing these crucial components. In this blog post, I'll share comprehensive guidelines to ensure a smooth and safe installation process.
Understanding the Almera N16 Brake System
Before diving into the installation instructions, it's essential to have a basic understanding of the Almera N16 brake system. The brake shoes are a key part of the drum brake system, which is commonly used in the rear wheels of this vehicle model. When the brake pedal is pressed, hydraulic pressure forces the brake shoes against the inside of the brake drum, creating friction that slows down or stops the vehicle.
Pre - installation Preparations
- Gather the Necessary Tools
You will need a set of basic tools, including a socket wrench set, a brake spring tool, a brake adjuster tool, a flat - head screwdriver, and a torque wrench. Having the right tools on hand will make the installation process much easier and more efficient. - Safety First
Park the vehicle on a level surface and engage the parking brake. Chock the front wheels to prevent the vehicle from rolling. Wear safety glasses and gloves to protect yourself from any potential hazards during the installation. - Inspect the New Brake Shoes
Before starting the installation, carefully inspect the new brake shoes for any signs of damage or defects. Ensure that the brake lining is in good condition and that all the components are present.
Step - by - Step Installation Process
Step 1: Remove the Wheel
Use the socket wrench to loosen the lug nuts on the wheel. Then, lift the vehicle using a jack and place it on jack stands for added stability. Remove the lug nuts completely and take off the wheel.
Step 2: Remove the Brake Drum
In some cases, the brake drum may be difficult to remove. You can try gently tapping it with a rubber mallet to loosen it. If there is an access hole on the back of the brake drum, you can use a brake adjuster tool to back off the brake shoes slightly, which may make it easier to remove the drum.
Step 3: Remove the Old Brake Shoes
Use the brake spring tool to remove the brake shoe return springs. Then, carefully remove the hold - down springs and pins that keep the brake shoes in place. Once the springs and pins are removed, you can take out the old brake shoes.
Step 4: Inspect the Brake Drum and Other Components
While the brake shoes are removed, inspect the brake drum for any signs of wear, scoring, or cracking. If the drum is damaged, it may need to be resurfaced or replaced. Also, check the wheel cylinders for leaks or damage.
Step 5: Install the New Brake Shoes
Place the new brake shoes in the same position as the old ones. Reinstall the hold - down springs and pins to secure the brake shoes. Then, use the brake spring tool to install the return springs. Make sure the springs are properly seated and that the brake shoes move freely.
Step 6: Adjust the Brake Shoes
Use the brake adjuster tool to adjust the brake shoes so that they are close to the brake drum. The goal is to have a small clearance between the brake shoes and the drum. You can adjust the shoes by turning the adjuster wheel until the brake shoes just barely touch the drum.
Step 7: Reinstall the Brake Drum
Carefully place the brake drum back onto the wheel hub. If it doesn't go on easily, double - check the brake shoe adjustment. Once the drum is in place, you can start to put the wheel back on.
Step 8: Torque the Lug Nuts
Put the lug nuts back on the wheel and use a torque wrench to tighten them to the manufacturer's recommended torque specification. This is important to ensure the wheel is securely attached.
Step 9: Repeat the Process
Repeat the above steps for the other rear wheel.

Post - installation Checks
- Brake Fluid Level
Check the brake fluid level in the master cylinder. If it is low, add the appropriate type of brake fluid as recommended by the vehicle manufacturer. - Brake Pedal Feel
After the installation is complete, pump the brake pedal a few times to build up pressure. The brake pedal should feel firm. If it feels spongy or goes all the way to the floor, there may be air in the brake lines or a problem with the installation. - Test Drive
Take the vehicle for a short test drive in a safe area. Apply the brakes gently at first to make sure they are working properly. Listen for any unusual noises or vibrations.
Compatibility and Other Product Recommendations
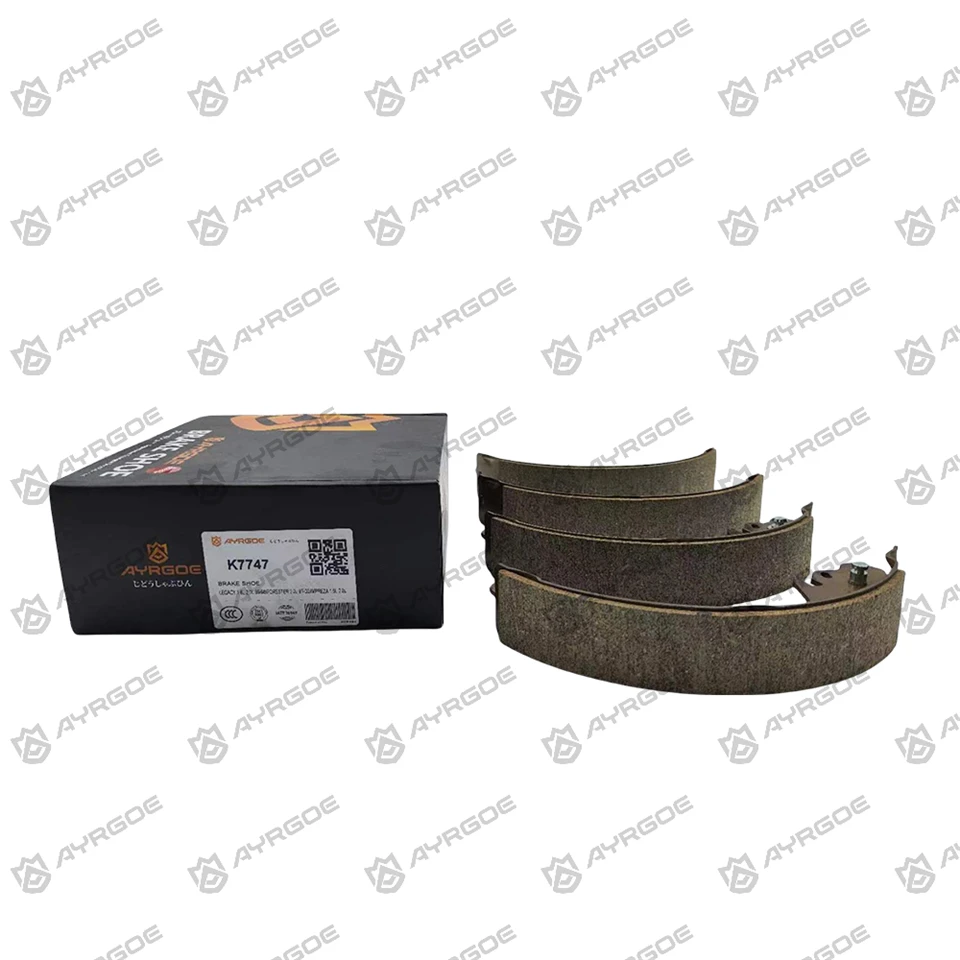
As a Brake Shoes for Almera N16 supplier, we also offer a wide range of brake shoes for other vehicle models. For example, if you are looking for brake shoes for other vehicles, we have K7747 Brake Shoes for LEGACY 1.8L 2.0L and FORESTER and IMPREZA, 04495 - 04010 Brake Shoes for SIENNA XL21 XL22 XL23 XL24 XL25 XL26 XL27, and 04495 - 02080 Brake Shoes for COROLLA E121 E122 E123 E124 E125 E126. These products are designed to meet the high - quality standards and ensure optimal performance.
Conclusion
Installing brake shoes for the Almera N16 requires careful attention to detail and following the proper procedures. By following the instructions outlined in this blog post, you can ensure a successful installation. If you have any further questions or need assistance with choosing the right brake shoes, feel free to contact us for procurement and further discussions.
References
- Automotive Repair Manual for Nissan Almera N16
- Brake System Manufacturer's Technical Documentation