

How to install brake shoes for TIIDA?
Jan 05, 2026
Leave a message
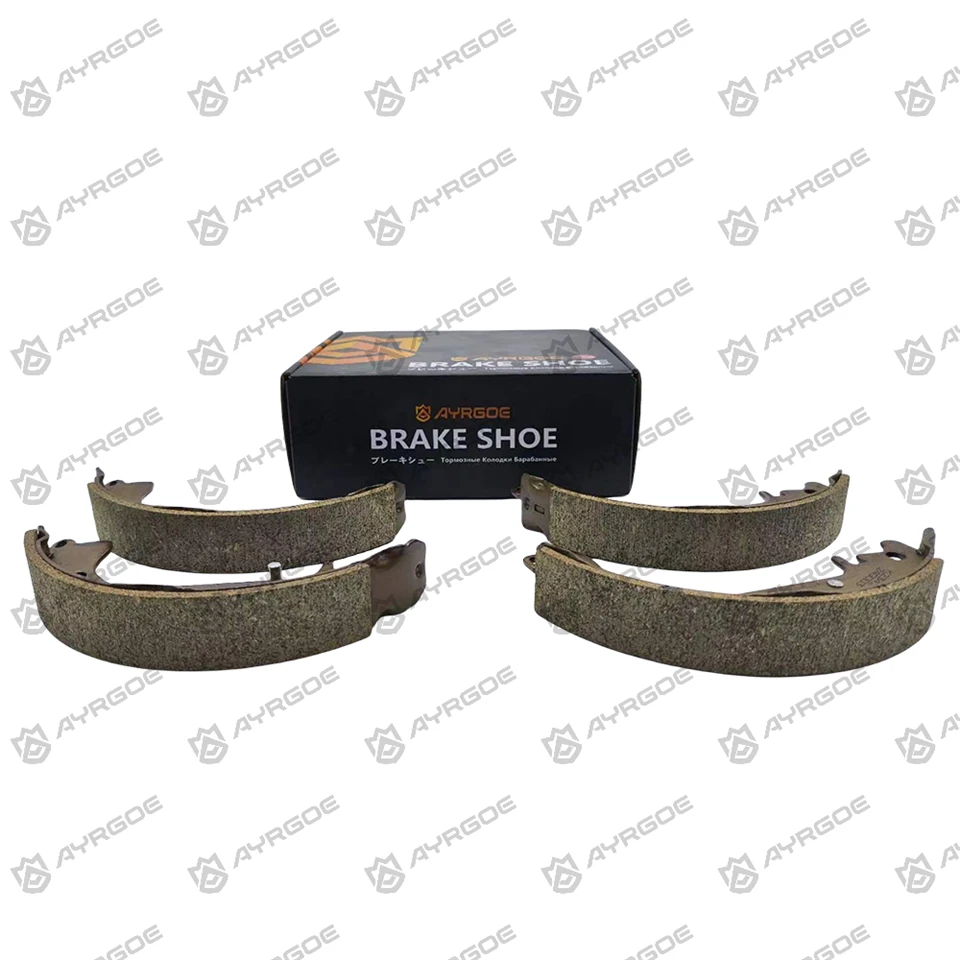
Hey there, fellow car enthusiasts! I'm a supplier of Brake Shoes for TIIDA, and I'm here to walk you through the process of installing brake shoes for your TIIDA. Whether you're a seasoned DIYer or just starting out with car maintenance, this guide will help you get the job done right.
Why Install Brake Shoes Yourself?
First off, you might be wondering why you should install brake shoes on your own. Well, there are a few good reasons. For one, it can save you a ton of money. Labor costs at a mechanic shop can be pretty steep, and doing it yourself means you only have to pay for the parts. Plus, it's a great way to learn more about your car and gain some hands - on experience. And let's not forget the satisfaction of knowing you fixed your car all by yourself!
What You'll Need
Before we get started, let's gather all the tools and materials you'll need:
- A set of Brake Shoes for TIIDA (of course, you can get high - quality ones from us!)
- A jack and jack stands
- A lug wrench
- A brake spring tool
- A C - clamp
- A flat - head screwdriver
- A torque wrench
- Brake cleaner
- Safety glasses and gloves
Step 1: Prepare Your Car
Park your TIIDA on a flat, level surface and engage the parking brake. Make sure the engine is off. Use the lug wrench to loosen the lug nuts on the wheel where you'll be working, but don't remove them just yet. Then, use the jack to lift the car until the wheel is about 6 - 8 inches off the ground. Place the jack stands under the car's designated jacking points for extra safety, and then fully remove the lug nuts and take off the wheel.
Step 2: Remove the Old Brake Shoes
Once the wheel is off, you'll see the brake drum. In some cases, you may need to remove a dust cover or some retaining clips to access the brake shoes. Use the flat - head screwdriver to pry off any retaining clips if necessary.
Next, use the brake spring tool to remove the brake shoe return springs. These springs hold the brake shoes in place, so be careful when removing them as they can be under a lot of tension. Once the springs are off, you should be able to easily remove the old brake shoes from the backing plate.
Step 3: Inspect the Brake Components
While the old brake shoes are off, take a good look at the other brake components. Check the brake drum for any signs of wear, cracks, or scoring. If the drum is in bad shape, you may need to have it resurfaced or replaced. Also, inspect the wheel cylinders for leaks or damage. If you notice any issues with these components, it's best to address them before installing the new brake shoes.
Step 4: Clean the Backing Plate
Use the brake cleaner to thoroughly clean the backing plate. This will remove any dirt, grease, or brake dust that has accumulated over time. A clean backing plate ensures that the new brake shoes will sit properly and function correctly.
Step 5: Install the New Brake Shoes
Now it's time to install the new Brake Shoes for TIIDA. Start by placing the new brake shoes on the backing plate in the same position as the old ones. Make sure the brake shoes are properly aligned with the wheel cylinders and the adjuster mechanism.
Use the brake spring tool to re - attach the return springs. This can be a bit tricky, so take your time and make sure the springs are securely in place. Double - check that the brake shoes move freely and aren't binding on anything.
Step 6: Adjust the Brake Shoes
After the new brake shoes are installed, you'll need to adjust them. Use the adjuster mechanism to increase the distance between the brake shoes and the brake drum until there is just a slight drag when you rotate the drum by hand. This ensures that the brakes will engage properly when you step on the pedal.
Step 7: Re - assemble the Brake System
Once the brake shoes are adjusted, re - install any dust covers or retaining clips that you removed earlier. Then, carefully put the brake drum back on. Make sure it fits snugly and rotates freely.

Step 8: Re - install the Wheel
Put the wheel back on the hub and hand - tighten the lug nuts. Lower the car using the jack until it's resting on the ground, and then use the torque wrench to tighten the lug nuts to the manufacturer's recommended torque specification.
Step 9: Test the Brakes
Before you hit the road, it's crucial to test the brakes. Start the car and pump the brake pedal a few times to build up pressure. Then, take your TIIDA for a short test drive in a safe area. Make sure the brakes feel firm and responsive, and there are no strange noises or vibrations.
Other Brake Shoe Options
If you're interested in brake shoes for other car models, we also offer a wide range of products. For example, we have K7747 Brake Shoes for LEGACY 1.8L 2.0L and FORESTER and IMPREZA, K2342 Brake Shoes for YARIS XP11 XP12 XP13 and COROLLA, and 04495 - 02080 Brake Shoes for COROLLA E121 E122 E123 E124 E125 E126.
Conclusion
Installing brake shoes for your TIIDA is a manageable DIY project if you have the right tools and follow the steps carefully. By doing it yourself, you can save money and gain a better understanding of your car's braking system.
If you're interested in purchasing high - quality Brake Shoes for TIIDA or any of our other brake shoe products, we'd love to hear from you. Whether you're a professional mechanic or a DIY enthusiast, we can provide you with the best brake shoes for your needs. Reach out to us to start a procurement discussion, and let's get your car's brakes in top - notch condition!
References
- Haynes Repair Manual for Nissan TIIDA
- Chilton's Automotive Repair Manual