

What tools do I need to change the brake shoes for Almera?
Jul 23, 2025
Leave a message
When it comes to maintaining your Nissan Almera, one crucial aspect is the brake system. Brake shoes play a vital role in ensuring your vehicle can stop safely and effectively. As a trusted supplier of Brake Shoes for Almera, I understand the importance of having the right tools for the job. In this blog post, I'll walk you through the essential tools you need to change the brake shoes for your Almera.
Safety First
Before we dive into the tools, it's important to emphasize safety. Working on your vehicle's brakes is a serious task that requires proper precautions. Always make sure your vehicle is parked on a level surface, engage the parking brake, and use wheel chocks to prevent the vehicle from rolling. Additionally, wear appropriate safety gear such as gloves and safety glasses to protect yourself from any potential hazards.
Essential Tools
- Jack and Jack Stands
A hydraulic jack is essential for lifting your vehicle off the ground. Make sure the jack is rated for the weight of your Almera. Once the vehicle is lifted, use jack stands to support it securely. Never rely solely on the jack to hold the vehicle up. Place the jack stands under the designated lifting points on your vehicle, which can usually be found in the owner's manual. - Lug Wrench
A lug wrench is used to remove the wheel nuts from your vehicle's wheels. Most vehicles come with a lug wrench in the trunk, but it's a good idea to have a high-quality, cross-shaped lug wrench for easier and more efficient removal. - C-Clamp or Brake Caliper Compressor
When changing the brake shoes, you'll need to compress the brake caliper piston to make room for the new brake shoes. A C-clamp or a dedicated brake caliper compressor can be used for this purpose. Simply place the C-clamp or compressor against the caliper piston and tighten it until the piston is fully compressed. - Socket Set and Wrenches
A socket set with various sizes of sockets and wrenches will be needed to remove the bolts and nuts that hold the brake caliper and other components in place. Make sure you have both metric and standard sizes, as different vehicles may use different measurements. - Brake Spring Tool
Brake shoes are held in place by springs, and a brake spring tool is necessary to remove and install these springs. This tool allows you to safely and easily manipulate the springs without getting your fingers pinched. - Wire Brush
A wire brush is useful for cleaning the brake components before installing the new brake shoes. It can help remove any rust, dirt, or debris that may affect the performance of the brakes. - Brake Cleaner
Brake cleaner is used to clean the brake components and remove any grease, oil, or other contaminants. It's important to use a brake cleaner that is specifically designed for automotive use, as other cleaners may damage the brake components. - Torque Wrench
A torque wrench is essential for tightening the bolts and nuts to the correct torque specification. Over-tightening or under-tightening the bolts can lead to brake problems or even accidents. Refer to your vehicle's owner's manual for the correct torque values.
Optional Tools
- Brake Bleeder Kit
If you need to bleed the brake system after changing the brake shoes, a brake bleeder kit can be very helpful. This kit allows you to remove any air bubbles from the brake lines, ensuring proper brake performance. - Parking Brake Adjuster Tool
Some vehicles may require a parking brake adjuster tool to adjust the parking brake after changing the brake shoes. This tool helps ensure that the parking brake is properly adjusted and functions correctly.
Step-by-Step Guide
Now that you have all the necessary tools, here's a step-by-step guide on how to change the brake shoes for your Almera:
- Prepare the Vehicle
Park your vehicle on a level surface, engage the parking brake, and use wheel chocks to prevent the vehicle from rolling. Loosen the wheel nuts on the wheel you'll be working on, but don't remove them yet. - Lift the Vehicle
Use the hydraulic jack to lift the vehicle off the ground at the designated lifting point. Place the jack stands under the vehicle and lower the vehicle onto the jack stands. Make sure the vehicle is stable and secure. - Remove the Wheel
Remove the wheel nuts and take off the wheel. Place the wheel flat on the ground to prevent it from rolling. - Remove the Brake Caliper
Use the socket set and wrenches to remove the bolts that hold the brake caliper in place. Carefully lift the brake caliper off the brake rotor and hang it from the suspension using a piece of wire or a bungee cord to prevent it from damaging the brake hose. - Remove the Old Brake Shoes
Use the brake spring tool to remove the springs that hold the old brake shoes in place. Carefully remove the old brake shoes from the brake assembly. - Clean the Brake Components
Use the wire brush and brake cleaner to clean the brake components, including the brake rotor, caliper, and backing plate. Make sure to remove any rust, dirt, or debris. - Compress the Brake Caliper Piston
Use the C-clamp or brake caliper compressor to compress the brake caliper piston. This will make room for the new brake shoes. - Install the New Brake Shoes
Place the new brake shoes onto the brake assembly and secure them with the springs using the brake spring tool. Make sure the brake shoes are properly aligned and seated. - Reinstall the Brake Caliper
Carefully place the brake caliper back onto the brake rotor and install the bolts. Tighten the bolts to the correct torque specification using the torque wrench. - Reinstall the Wheel
Put the wheel back onto the vehicle and hand-tighten the wheel nuts. Lower the vehicle off the jack stands using the hydraulic jack and then use the lug wrench to tighten the wheel nuts in a star pattern to ensure even tightening. - Test the Brakes
Before driving your vehicle, pump the brake pedal a few times to build up brake pressure. Then, test the brakes at a low speed in a safe area to make sure they are working properly.
Other Brake Shoe Options
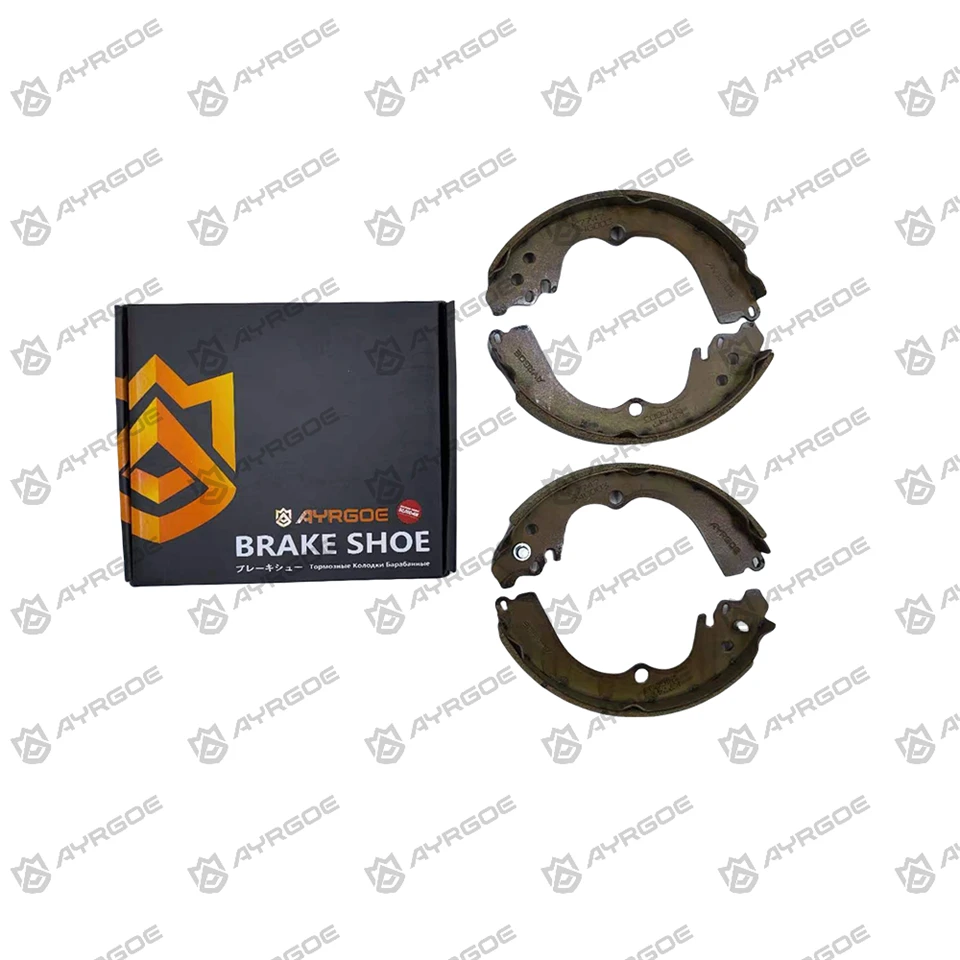
In addition to Brake Shoes for Almera, we also offer a wide range of brake shoes for other vehicles. For example, if you own a Honda CRV RD1 RD2 RD3, you might be interested in our K5524 Brake Shoes for CRV RD1 RD2 RD3. These brake shoes are designed to provide reliable braking performance for your CRV.
If you have a Toyota CAMRY XV21 XV22 XV23, our 04495-06010 Brake Shoes for CAMRY XV21 XV22 XV23 are a great choice. They are made from high-quality materials to ensure long-lasting durability.
For Subaru LEGACY 1.8L 2.0L, FORESTER, and IMPREZA owners, our K7747 Brake Shoes for LEGACY 1.8L 2.0L and FORESTER and IMPREZA are specifically designed to meet the braking needs of these vehicles.

Conclusion
Changing the brake shoes for your Almera is a task that can be done with the right tools and some basic mechanical knowledge. By following the steps outlined in this blog post and using the essential tools, you can ensure that your vehicle's brakes are in good working condition. If you have any questions or need further assistance, don't hesitate to contact us. We are a leading supplier of Brake Shoes for Almera and other vehicles, and we are committed to providing high-quality products and excellent customer service. Whether you're a DIY enthusiast or a professional mechanic, we have the brake shoes you need. Contact us today to discuss your procurement needs and start a business negotiation.
References
- Nissan Almera Owner's Manual
- Automotive Repair Manuals